


Outlook 2011 Setup
Conveniently located to serve the areas of Undefined
Set Up IMAP – Outlook for Mac 2011
Setup Outlook 2011 for IMAP
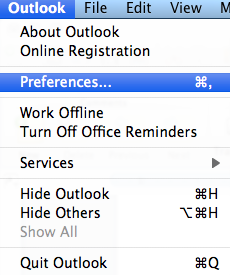
1. Open Outlook for Mac 2011. From the Outlook drop-down menu in the top bar, select Preferences.
2. On the Preferences menu, under the Personal Settings heading, click Accounts.

3. On the Accounts screen, select E-mail Account.
Note: If you already have accounts configured, you can select the plus symbol in the lower left corner, then select Email Account.
4. Enter your full email address (e.g., myname@mydomain.com) and password. Click Add Account
5. Once you add your email address and password, the box will expand. Enter the following information into the expanded screen:

• Username — Enter your entire email address (e.g., myname@mydomain.com)
• Type — Select IMAP from the drop-down menu.
Basic Server Settings:
Incoming server: imap.emailsrvr.com Port: 143
Outgoing server: smtp.emailsrvr.com Port: 25
Secure Server Settings:
Incoming server: secure.emailsrvr.com Port: 993
Outgoing server: secure.emailsrvr.com Port: 465
Note: If your internal system configurations require non-SSL ports, please see the “Email Server Settings” page for our full list of available servers and ports.
6. Click Add Account and the click “More Options” under outgoing server. In the pop up window, select the authentication drop down and choose “Use Incoming Server Info” then select OK and confirm changes then close.